Some details first:
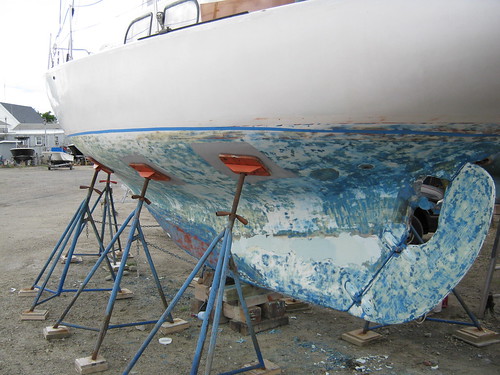
- - The bottom paint was chipping off in numerous places, leading me to think that the bottom layer(s) of paint were failing.
- I chose to use Aquastrip because it didn't have toxic fumes, and Jamestown had it on sale. Practical Sailor and the online reviews seemed to think it worked OK.
- I ended up using about twice the recommended amount, mostly due to user error. If I was to do this again I'd consider using this product, although given the time involved I would be seriously tempted to pay someone to soda blast the paint off.
- Once I had the paint off I went around and chipped off little chunks of gel coat where it looked like it was ready to come off. Some spots are highlighted in the pictures. Then I filled with 3M and Evercoat fillers. I left the filler a little proud of the hull when sanding to avoid taking off too much of the surrounding gel coat.
- I had a gallon of Shark White (tan, really) Micron CSC that I used for the first coat. I covered that with some West Marine ablative in blue. The goal is to be able to know when it's time to recoat by seeing when the lighter color shows through.
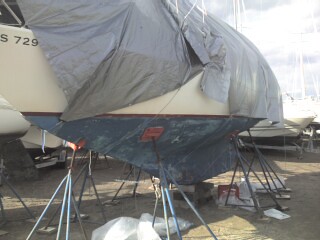
Port side after first (maybe second?) application of stripper. It was probably too cold that day and it wasn't until I finished the job that I figured out just how long to leave the stuff on.
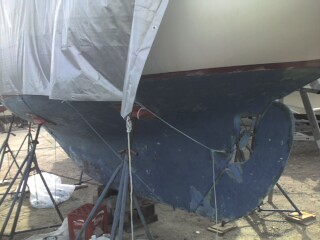
Port side aft.
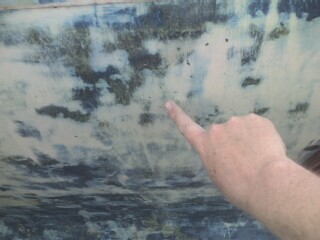
Detail of chips.
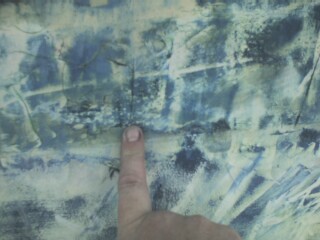
This is a section of the false keel. Looks like water got inside at some point and created a fishscale pattern of cracks in the gel coat. In the interest of time, I covered it with filler. There are probably a number of more thorough solutions I could have applied, but my thinking is that if it made it through 50 years it will most likely make it a few more.
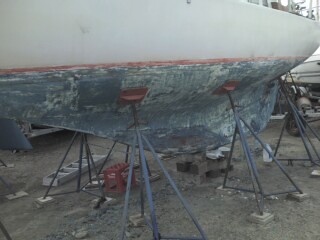
After the third (?) application of stripper. I kind of lost count . . . I didn't do the whole hull each time, though.
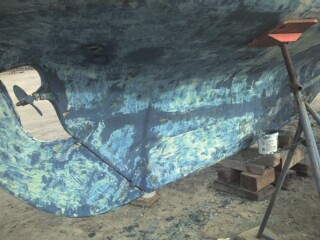
Starboard side aft. You can see the joint between the false keel and the hull itself - it's the darker blue line (bottom paint that has yet to come off). Below that is a section where I believe a repair was done by wrapping fiberglass around the bottom of the false keel and up each side. It's the straighter line below the false keel joint.
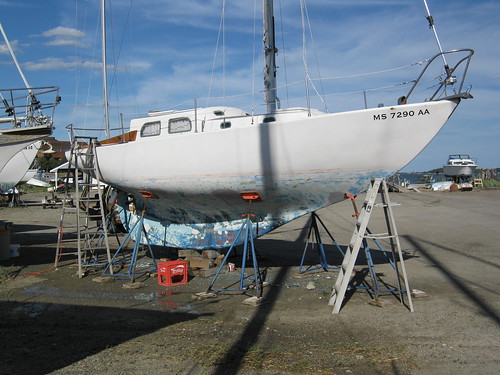
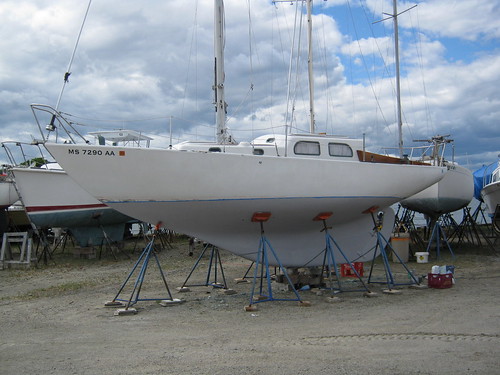
This shows the hull after sanding and filling is done. I've started painting with the first coat of bottom paint. The painted areas are where I'm going to move the stands to the next morning.
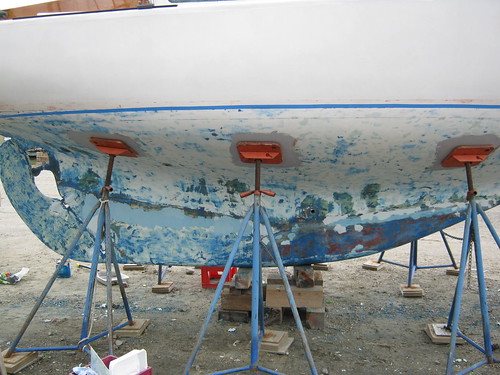
Port side, next day. The stands have been moved and I've masked where the bottom paint will come up to.
Starboard side aft, same time.
After the first coat of bottom paint.
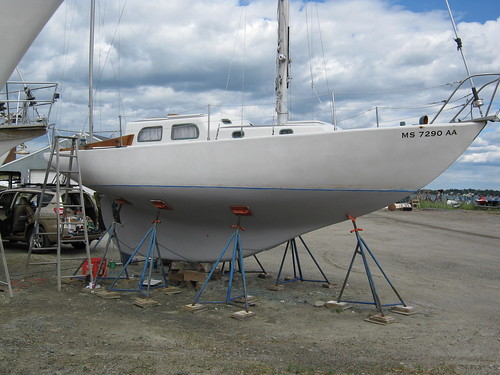
Starboard side.
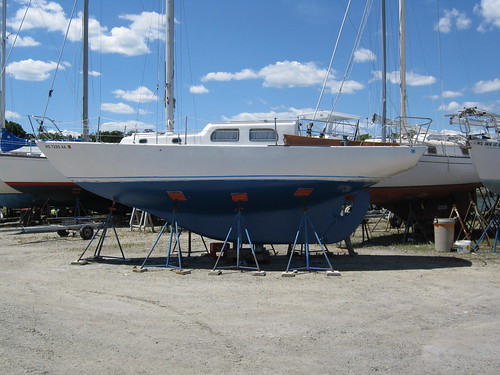
Starboard side after the second coat of bottom paint and after masking for the new boot top stripe. I changed the configuration of the stripe from where a previous owner had raised it to. He had simply measured 2" or so above the top of the original stripe, which means it curves up at each end but didn't really widen enough to look right. I measured up from the original waterline for the bottom edge of the new stripe, and then used the top of the original stripe as a guide for the new one.
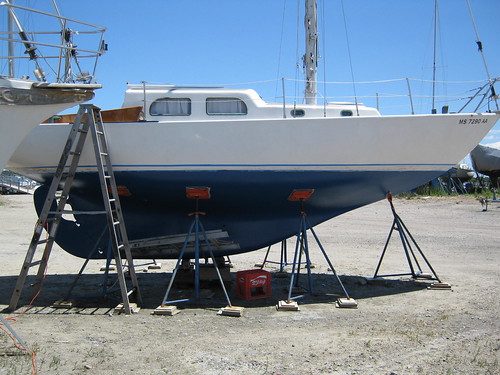
Port side.
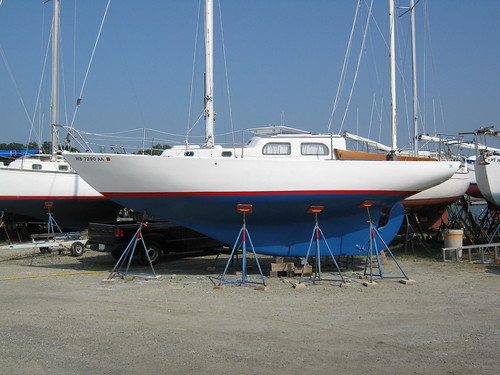
All done and ready to launch!
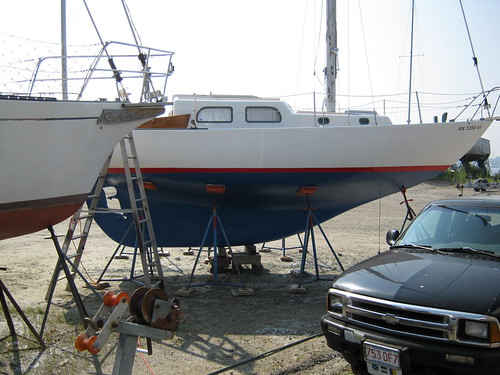
Port side.
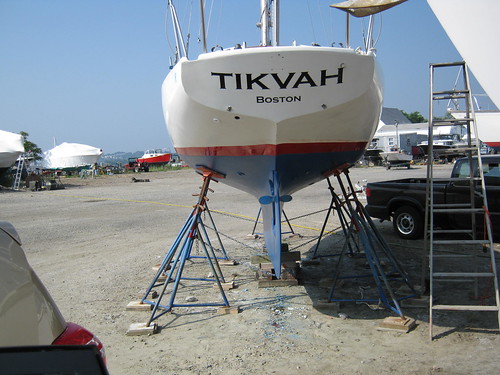
The stern. I didn't get the very end of the stripe quite right, but it's good enough for this year.
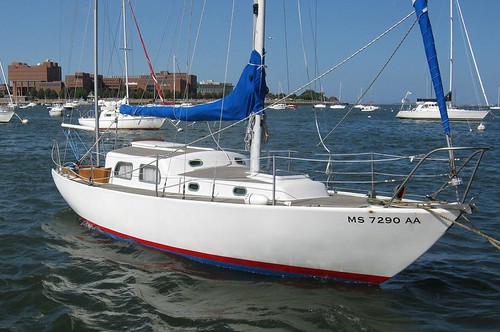
She floats!
There are a few more pix (and larger versions of most of these) on my Flickr site here:
http://www.flickr.com/photos/37760322@N ... 364757399/
Enjoy!
Mark