Page 8 of 8
Re: Coronado 15 project.
Posted: Tue Dec 02, 2014 12:07 pm
by TampaBay
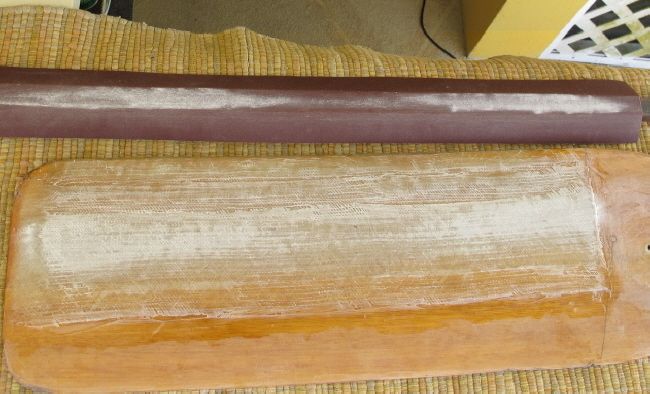
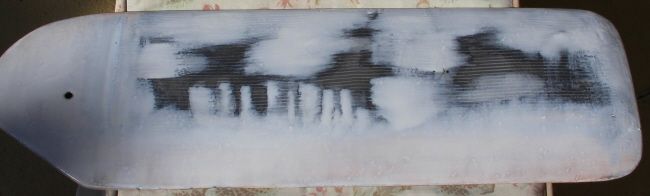
The foils are better. The final fairing was done with neat epoxy (tinted white.) I'll fair once more, and then apply finish coats of white epoxy.
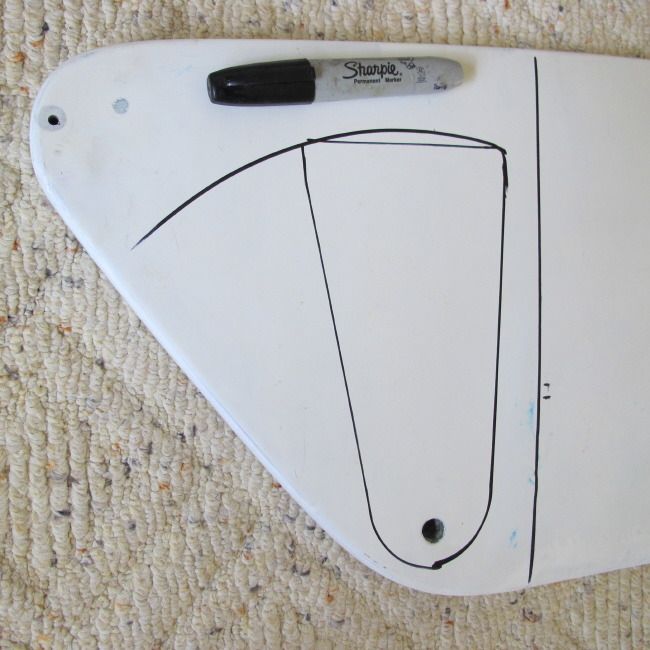
Centerboard. The low spots are circled.
 Rudder.
Re: Coronado 15 project.
Posted: Sat Dec 06, 2014 10:20 am
by TampaBay
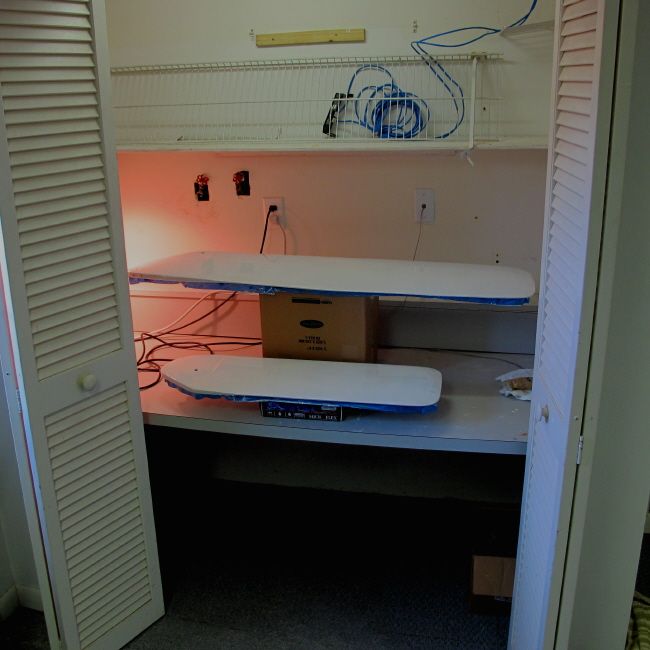
The storage area/office is a great place to cure epoxy. It's not attached to the main house and it stays very warm all day and night. I think these foils are almost done. I might add another coat of pigmented epoxy, but I'm starting to use epoxy like it's paint. So,,,,, it's time to go shopping for some paint.
A 75 watt bulb adds extra heat to this large cabinet.
Re: Coronado 15 project.
Posted: Mon Dec 08, 2014 7:16 pm
by TampaBay
It's tough to get good pictures of bright, white, glossy objects. These foils are done for now. I'm looking forward to sail testing them.
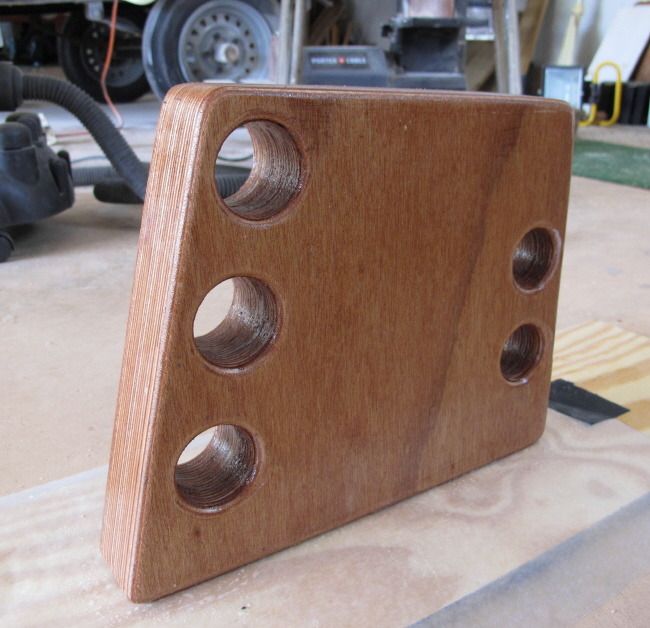
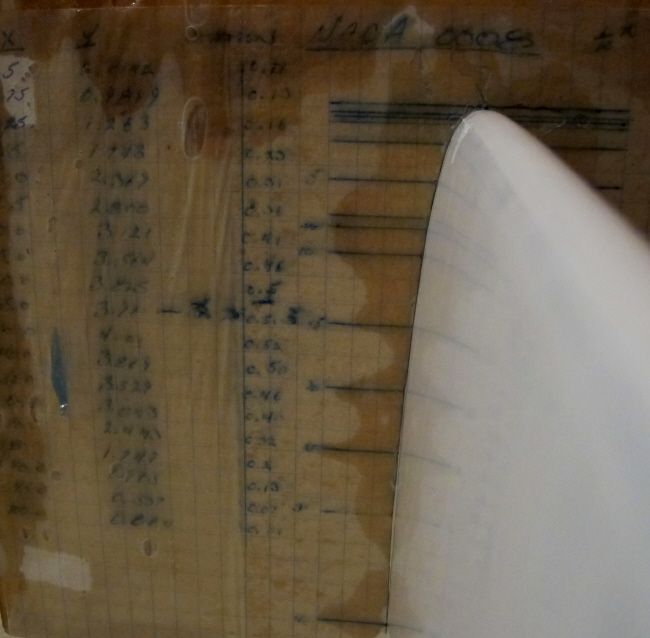
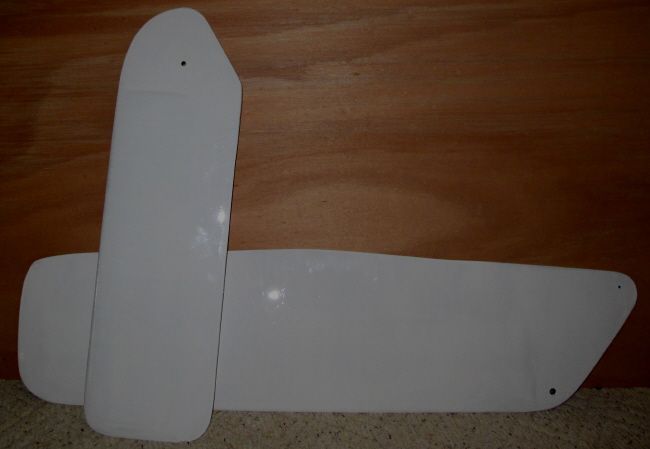 There's no way these foils are perfect, but their sooooo much better than the factory originals. If I decide to start rebuilding them (one more time,) I'll start with more precise templates. This one is graph paper epoxied onto 1/4" plywood.
Re: Coronado 15 project.
Posted: Thu Dec 11, 2014 1:08 am
by CapnK
You can see in that last shot, in the reflections on the foil, how nice it came out. Great job!
Re: Coronado 15 project.
Posted: Tue Dec 16, 2014 10:28 am
by TampaBay
Thanks CapnK. I have to wonder how this boat will sail will nice foils. I still have to fit some "shoes" into the top and bottom of the centerboard trunk, in order to hold the leading edge and trailing edge securely in place.
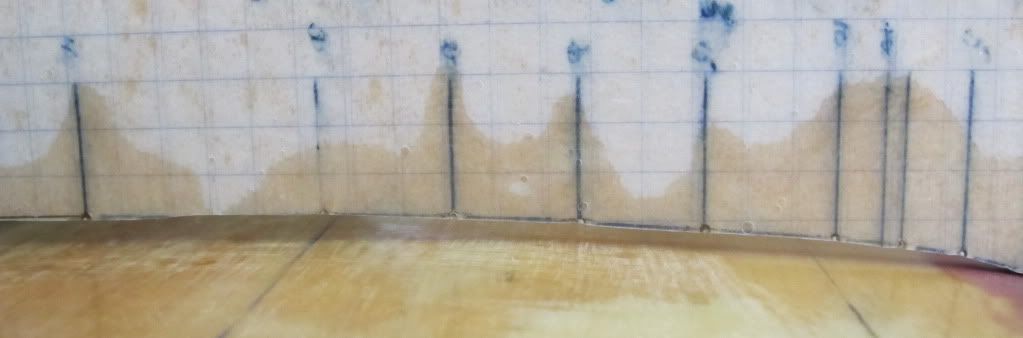
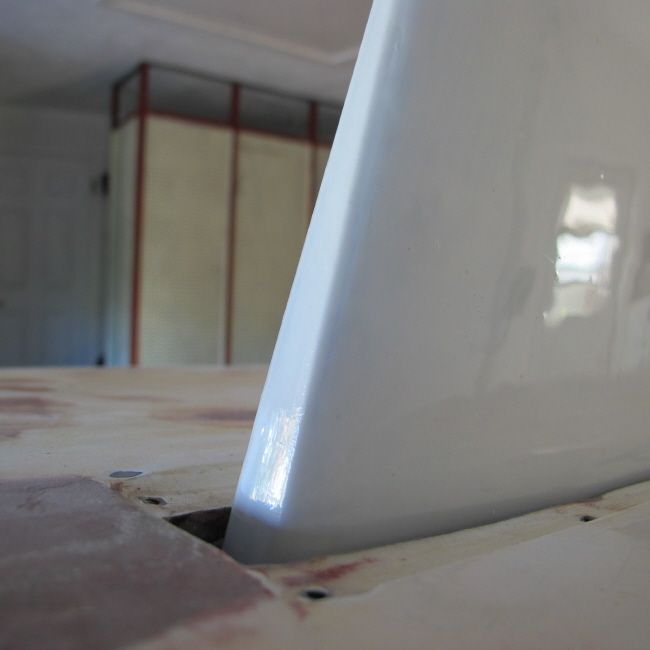
Here is a look at the original shape of the board, when compared to the template (before template fairing.) There is at least a 1/4 inch gap, and in some places, more. One side was completely flat (concave in spots,) and the other side was only slightly better. Same deal with the rudder.
Re: Coronado 15 project.
Posted: Mon Dec 29, 2014 12:38 pm
by TampaBay
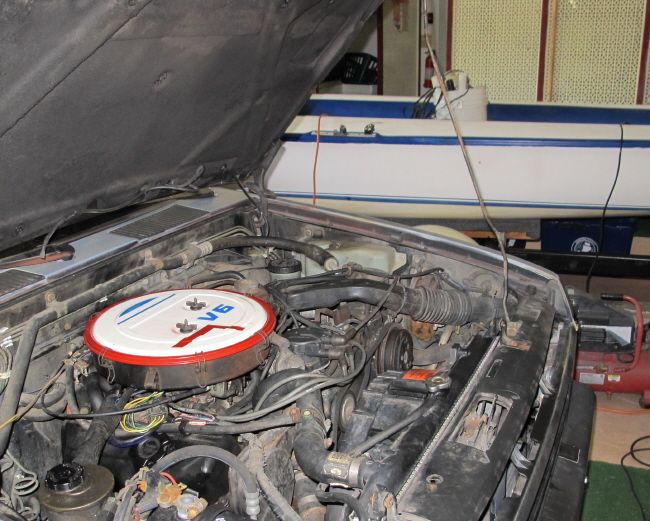
The boat: Waiting in the wings, as a truck project takes center stage. The air flow meter was tested with a multimeter. It has 12v in and a good ground. If the computer determines that the output voltages are not within range, it ignores the air flow meter and will control the engine with information from the throttle position sensor (not good.)
Re: Coronado 15 project.
Posted: Tue Dec 30, 2014 8:24 pm
by TampaBay
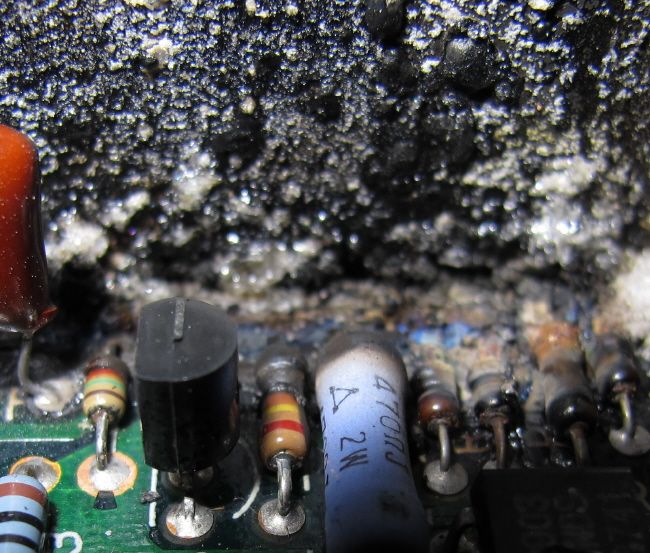
Oops, looks like a small fire in the computer. I think, this could be the problem.
Re: Coronado 15 project.
Posted: Thu Jan 15, 2015 5:37 pm
by TampaBay
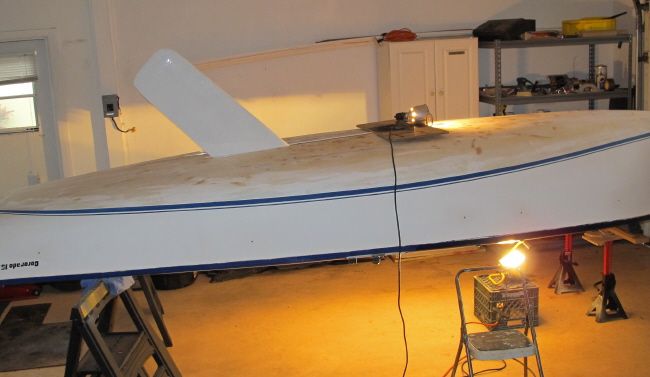
Fitting the new centerboard: From the cockpit, the board won't fit into the trunk. The maximum width of the board is 1 and 1/8th", the top lip of the slot is about 1 and 1/16th". I'll feed it through the bottom for now. I'm waiting for a small epoxy patch at the forward end of the slot, to cure (just under the top work lamp.) There was a small crack.
Re: Coronado 15 project.
Posted: Sat Jan 17, 2015 11:51 am
by TampaBay
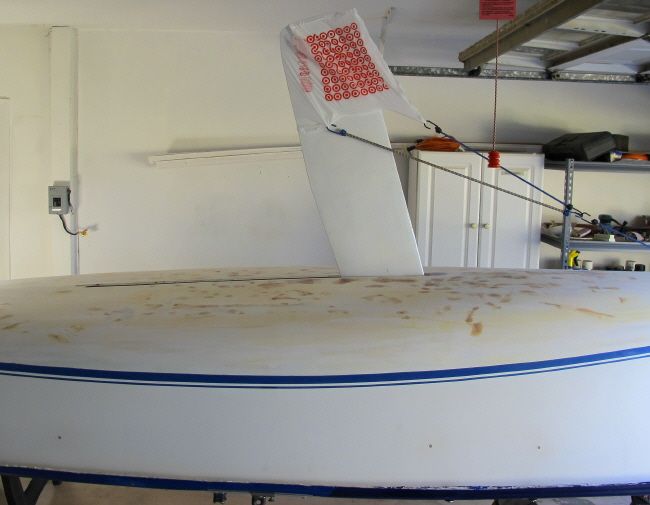
The word from the fleet is, the board should be at 90 degrees in the full down position. This is 16 degrees of aft sweep.
A bag from Target and some bungee cords are holding the board steady.
Re: Coronado 15 project.
Posted: Mon Jan 19, 2015 10:24 am
by TampaBay
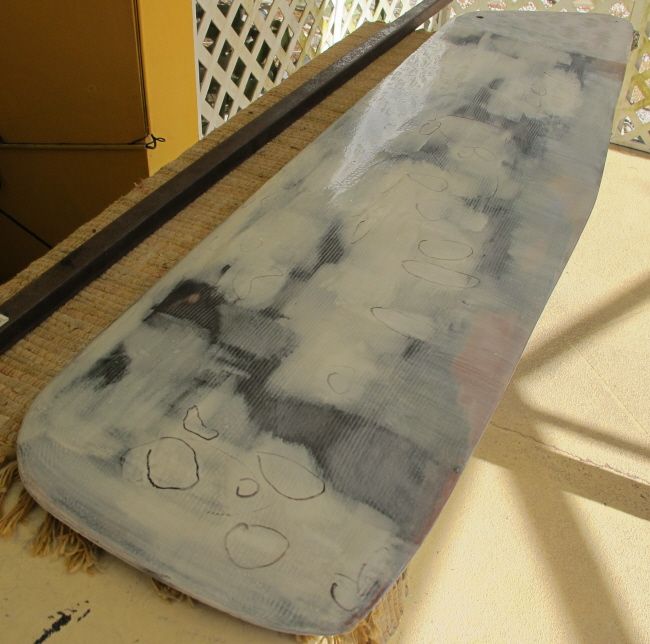
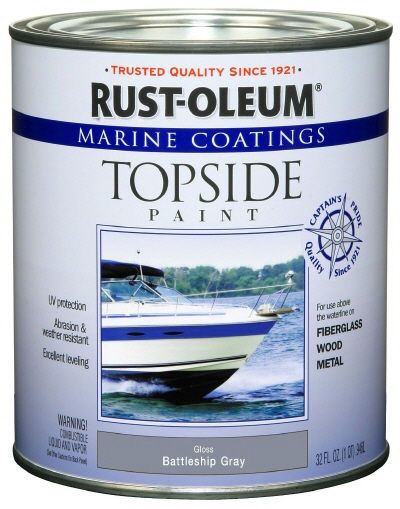
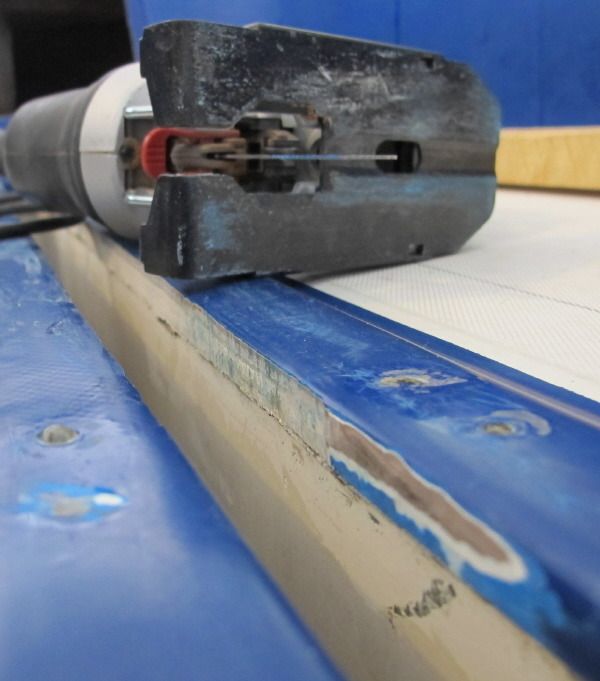
Somehow, the foil project turned into a bottom job. I chose Rust-Oleum Topside.
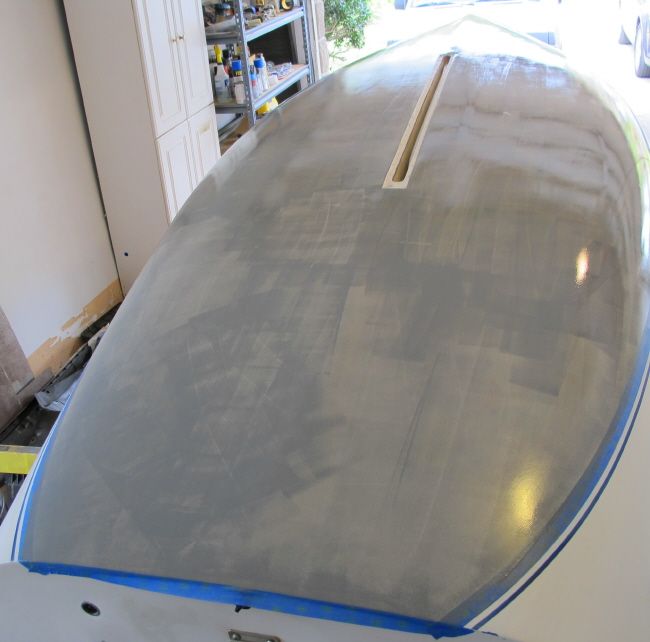
 The hull was fared with epoxy a couple years ago. It was faster, but there was room for improvement. I sanded the epoxy down to bare hull with 60 grit, then applied the Rust-Oleum primer. The primer went on to thick (live and learn,) 90 percent was sanded off with 120 grit paper.
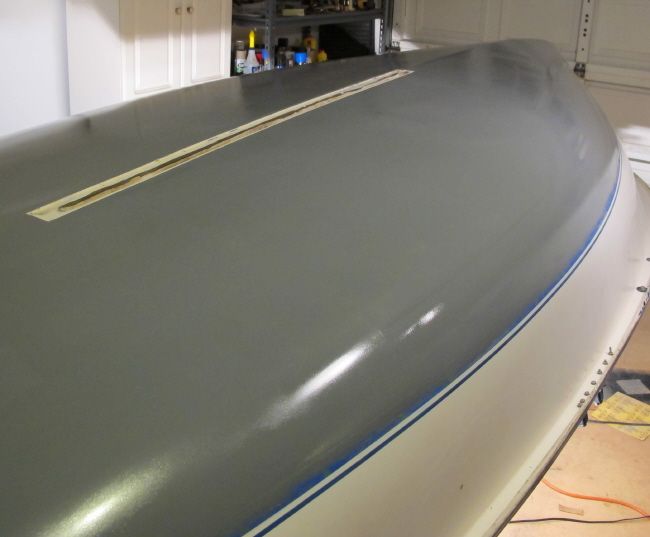
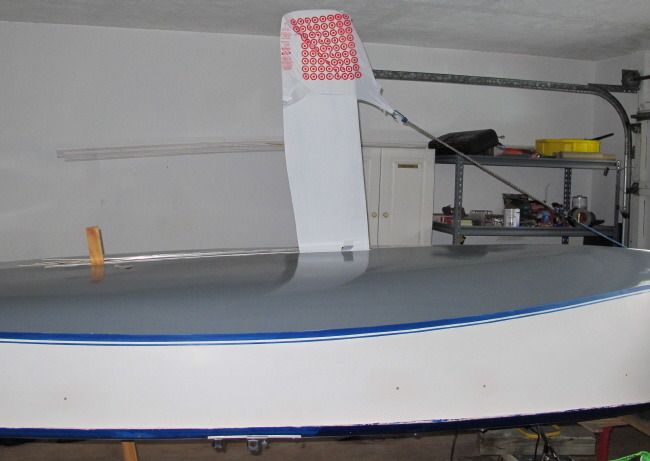
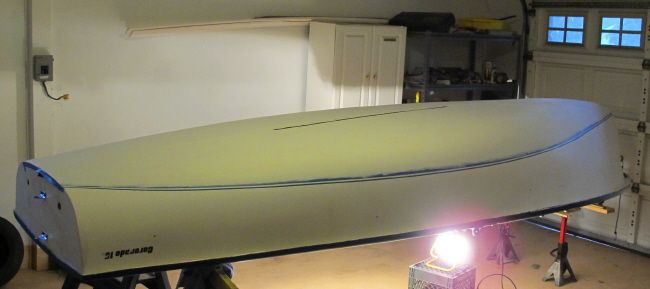 The first coat of gray went down with a 4" foam roller. The paint was thinned to 7% mineral spirits. It lays down very flat; no "roll and tip," just "roll and roll."
 After about 5 hours, the first coat was hard enough to sand with 320 grit (and it sands nicely.) Then the second coat was applied.
 Later today, I'll sand again with 320 grit and add the third coat. The foam roller does not add a thick layer of paint, so a fourth coat might be needed. After the final application, I'll start wet sanding with 400 grit paper.
Re: Coronado 15 project.
Posted: Tue Jan 20, 2015 11:24 am
by TampaBay
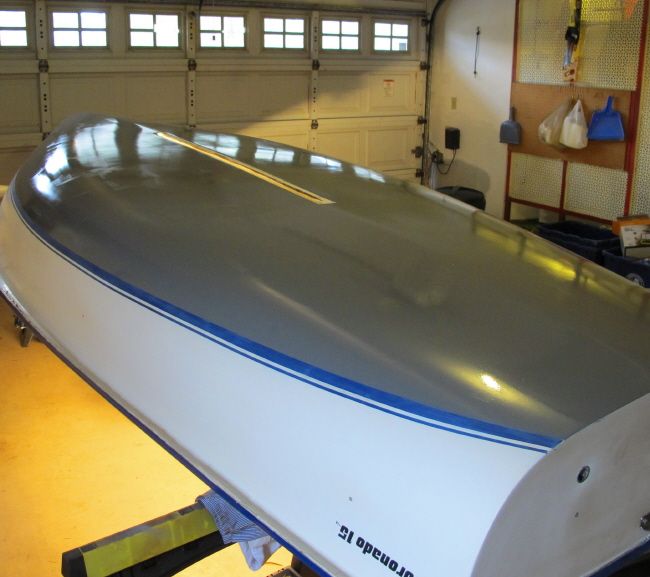
The 3rd coat provided decent final coverage, and there's a small amount of paint remaining for touch up projects.
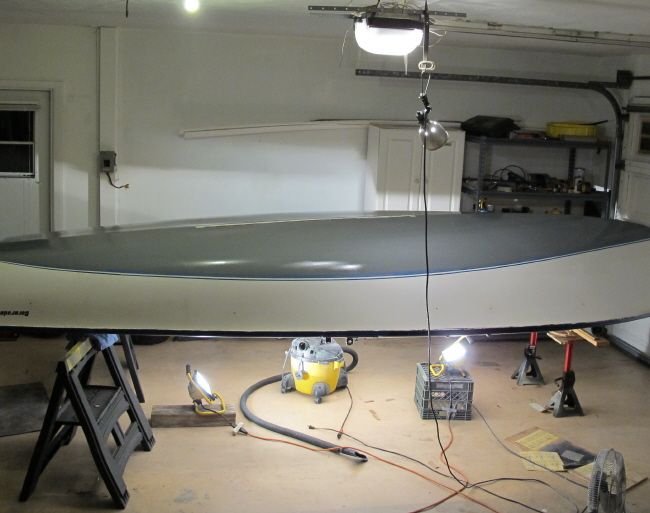
 The paint cured slowly overnight (cool temps.) Today I added a blanket and placed two 500 watt halogens under the hull. Let it warm up for a day.

Re: Coronado 15 project.
Posted: Sat Jan 24, 2015 9:07 pm
by TampaBay
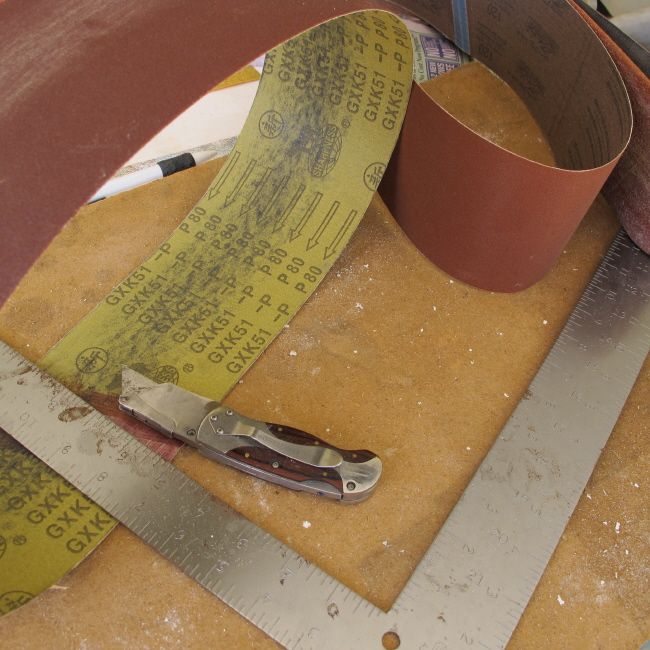
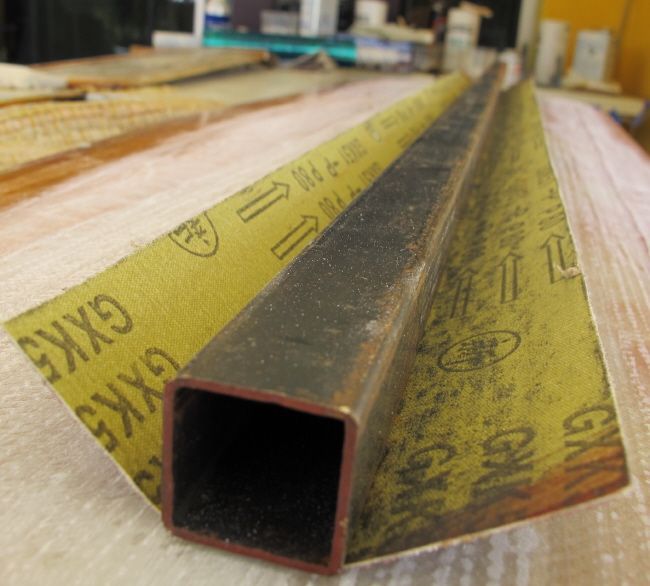
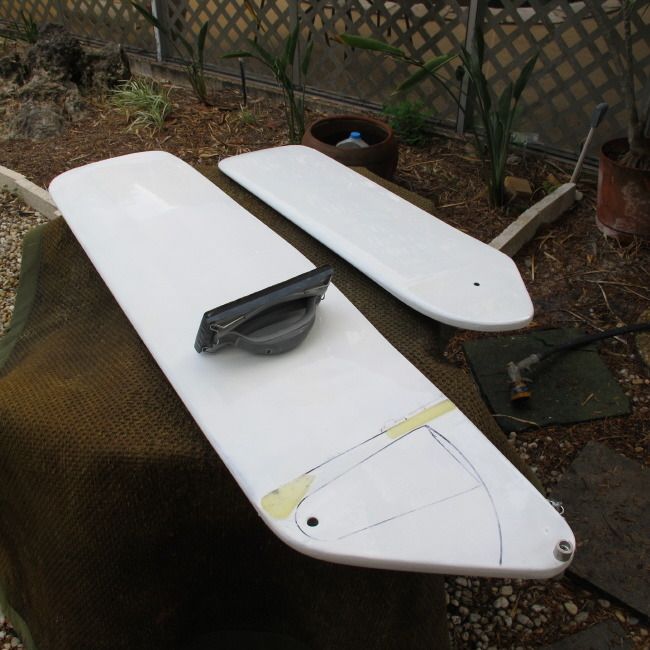
I didn't realize how much square leading edge showed below the water line (not fast.) This was rounded off with a belt sander.
Re: Coronado 15 project.
Posted: Mon Feb 09, 2015 4:20 pm
by TampaBay
The centerboard was set with 3 degrees of rake. To stop the side play of the board, I have to add 1mm shims to each side of trunk slot (somehow.)
Re: Coronado 15 project.
Posted: Tue Feb 10, 2015 5:39 am
by pjesus
Love your work, TampaBay.
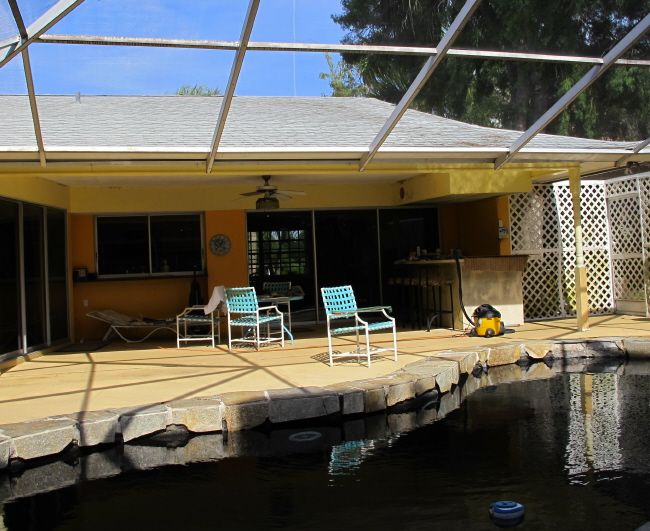
But love your shop even better! :)
Re: Coronado 15 project.
Posted: Fri Feb 13, 2015 11:01 am
by TampaBay
Thanks pjesus. This time of year is nice because we get a short break from the humidity.
Anyone have experience with this tape? I'm considering it to shim the centerboard in the slot but I don't know if the adhesive is waterproof. It's "Jap tape."
http://www.dieballsailing.com/japanese-glide-tape/

Re: Coronado 15 project.
Posted: Mon Mar 02, 2015 2:22 pm
by TampaBay
Marking out the bracket's territory. The other spaces need to be built up.
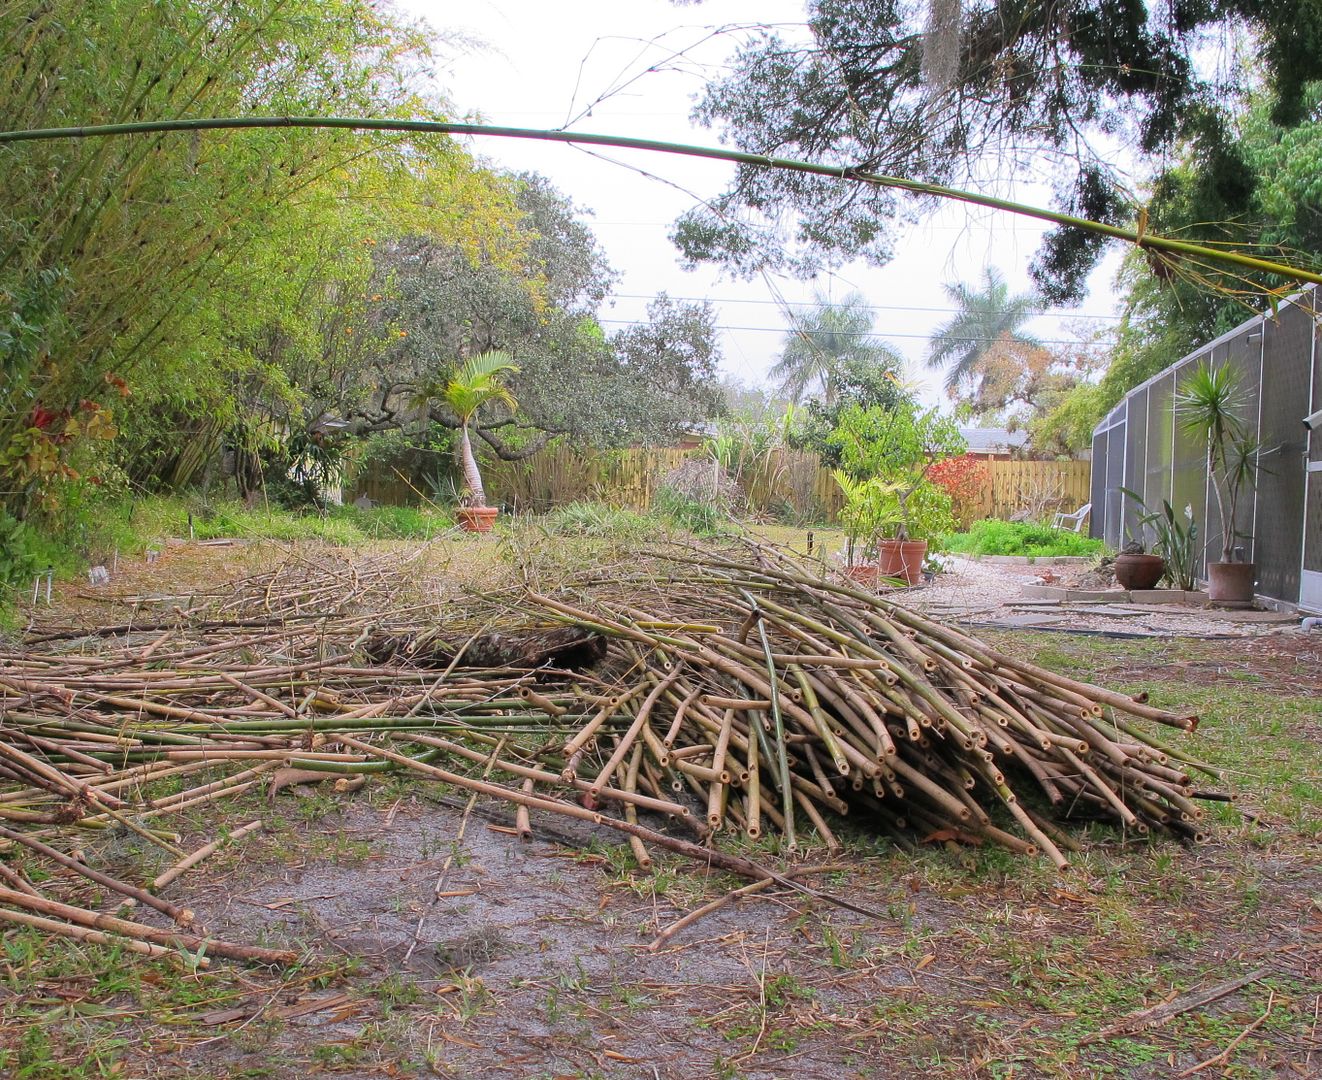
 Way to much yard work. The old bamboo canes are removed and slowly make their way to the curb for pick up day.
Re: Coronado 15 project.
Posted: Wed Mar 11, 2015 2:10 pm
by TampaBay
The rough edges of the epoxy shoes were sanded away. They were then fixed into position. One pair at the leading edge and one pair at the trailing edge.
 With the left over epoxy I did some repairs on this chair.
 Could someone get J.R. on the phone please.

Re: Coronado 15 project.
Posted: Thu Mar 12, 2015 2:20 pm
by TampaBay
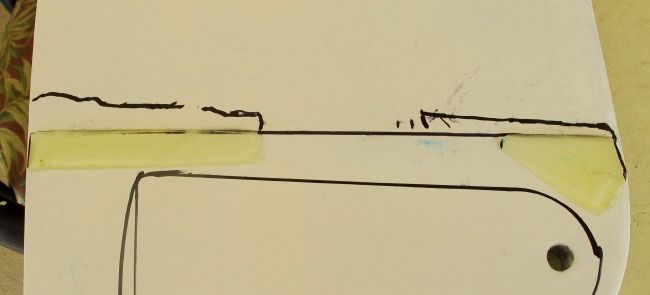
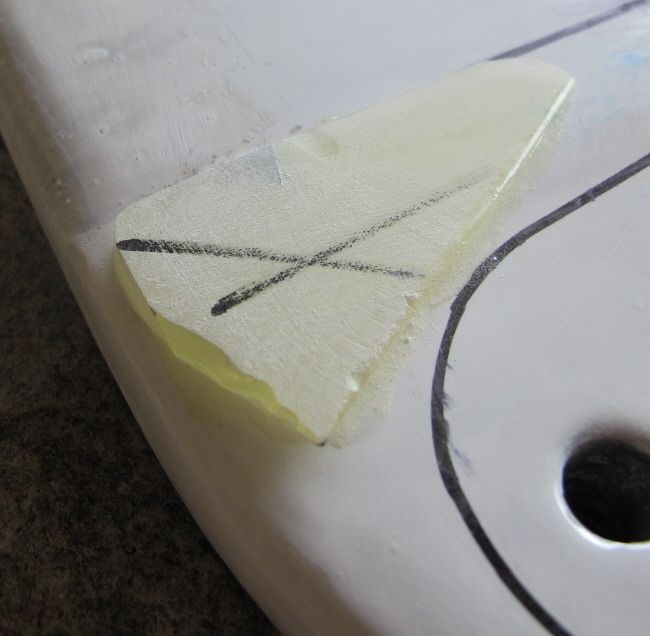
The shoes are slightly wide. Rock the board forward and strike a mark, rock it back and strike another mark.
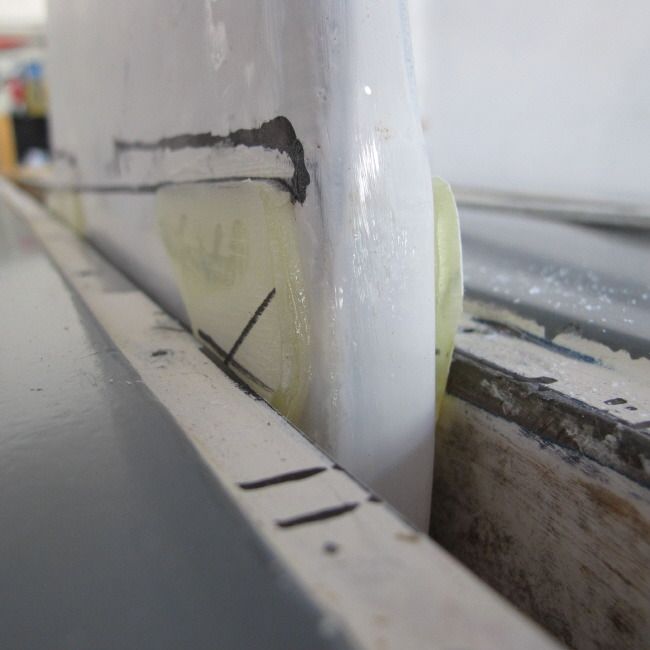 X marks the spot (where you sand.) Remove the mark then check the fit (repeat.)
 And then it happened "foooonk," the board dropped into place. A good fit.
Re: Coronado 15 project.
Posted: Fri Mar 13, 2015 6:53 am
by pjesus
The paint job looks awesome.
Nice trick to get those shoes done. I don't think I would have thought of doing that :)
Re: Coronado 15 project.
Posted: Sun Mar 22, 2015 11:43 am
by TampaBay
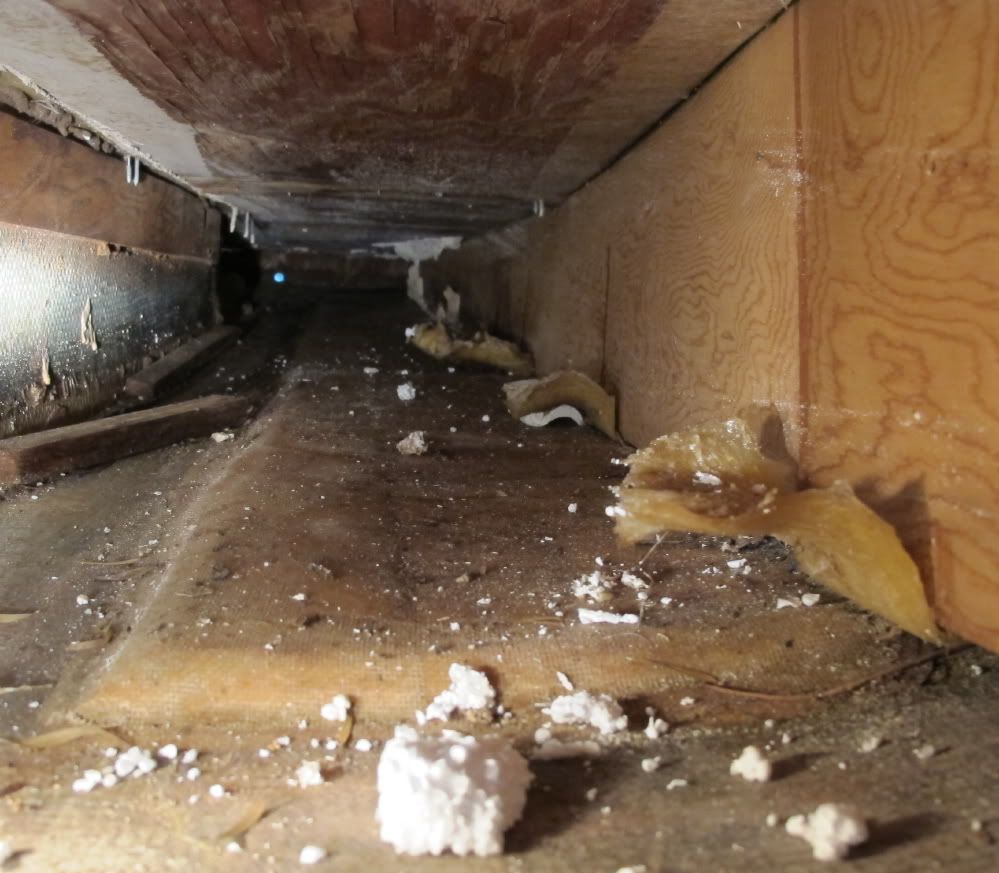
Thanks pjesus. The boat is off the horses and back on the trailer. It's a big milestone because now, I can park my car in the garage. The area of the centerboard trunk that takes the lateral forces of the board was reinforced with epoxy and 3/8ths inch Okume plywood. I also added 4 layers of 10 ounce fiberglass along the center of the hull.
Re: Coronado 15 project.
Posted: Thu Mar 26, 2015 2:56 pm
by TampaBay
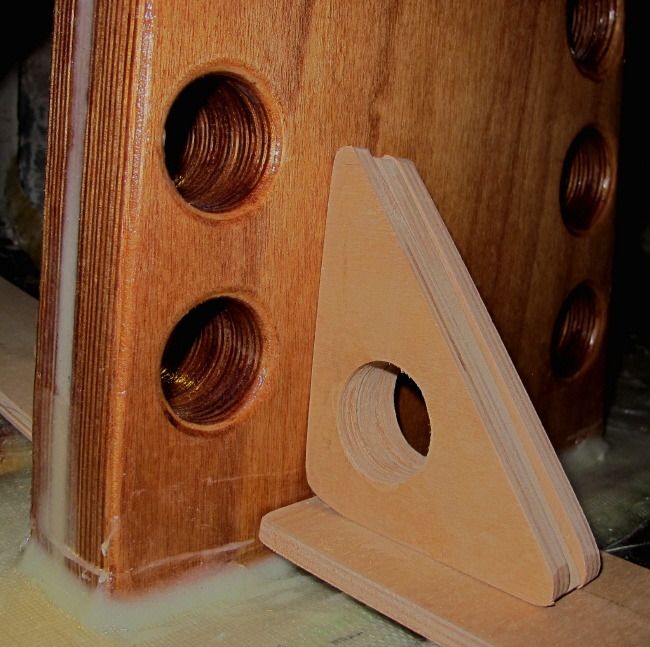
Laminated and installed a new compression post. This was a Father and Son project.
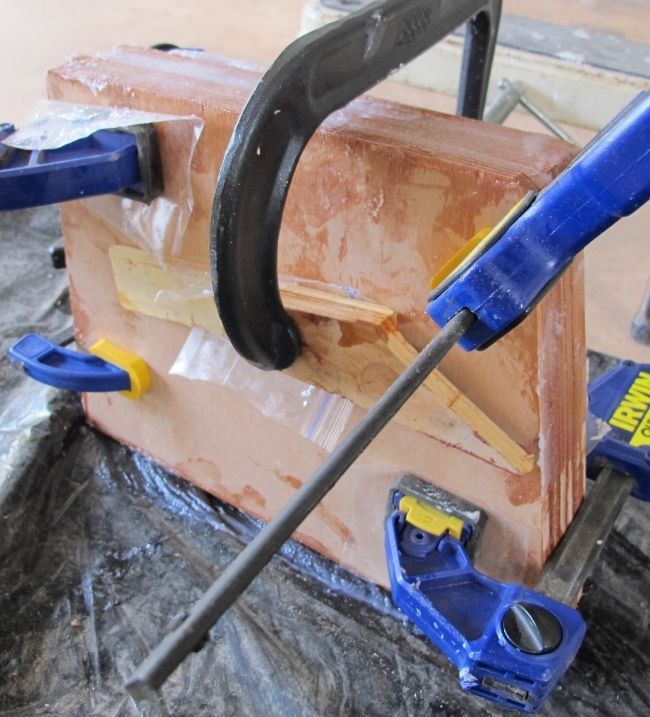 Six layers of 3/8ths inch Okume. Added stringers and new fiberglass. The dimensions of that forward bulkhead are being reduced (I'm cutting large sections out.) It was overbuilt.
Re: Coronado 15 project.
Posted: Fri Mar 27, 2015 8:12 pm
by TampaBay
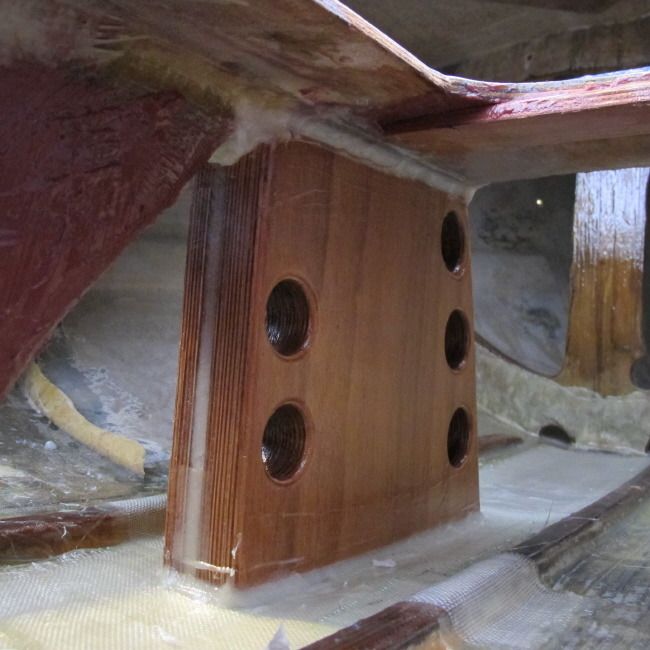
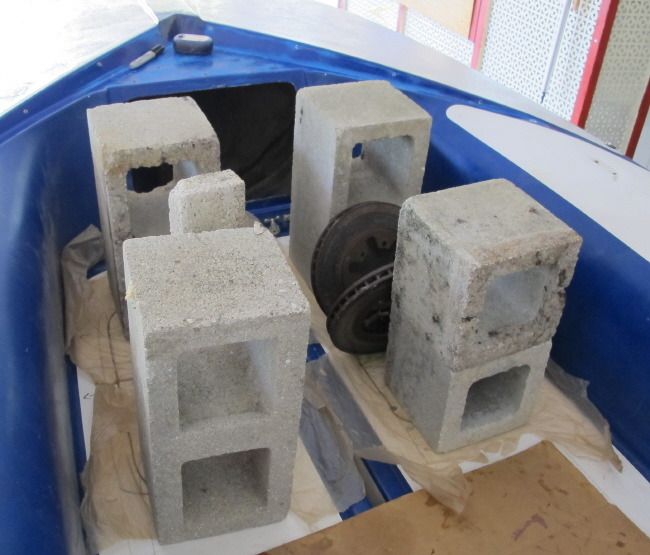
Distribute the compression.
Re: Coronado 15 project.
Posted: Sat Apr 04, 2015 9:16 pm
by TampaBay
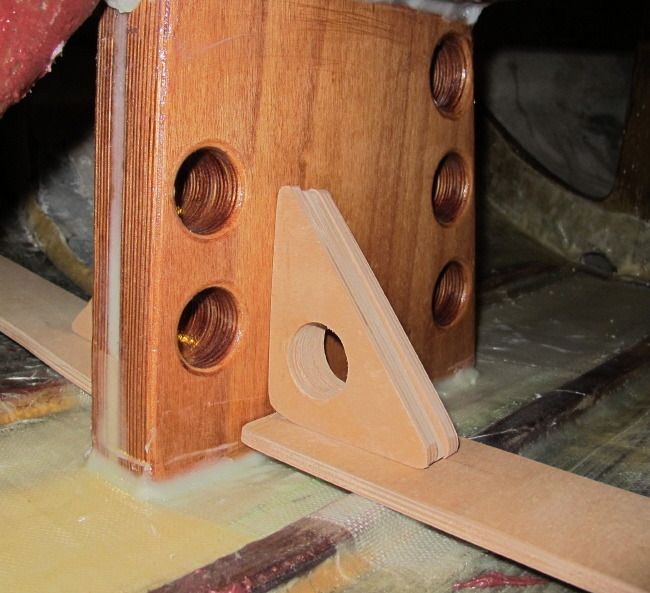
Reinforcing the corners. Lots of small pieces to cut out.
Re: Coronado 15 project.
Posted: Sun Apr 05, 2015 7:44 pm
by TampaBay
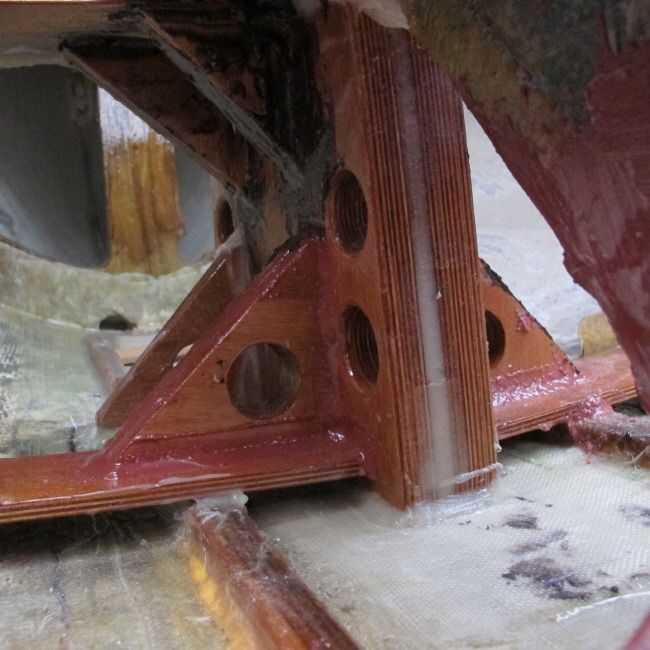
The compression post install is completed. It's tied into the new stringers and the cockpit. This is now a much stiffer hull.
Re: Coronado 15 project.
Posted: Tue Apr 07, 2015 4:13 pm
by TampaBay
And the panels that were cut from the cockpit are glued back into position. This feels really good.
Re: Coronado 15 project.
Posted: Wed Apr 08, 2015 4:55 pm
by TampaBay
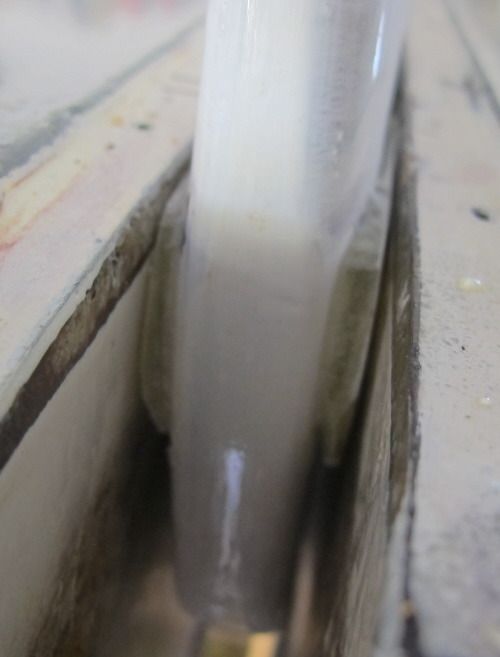
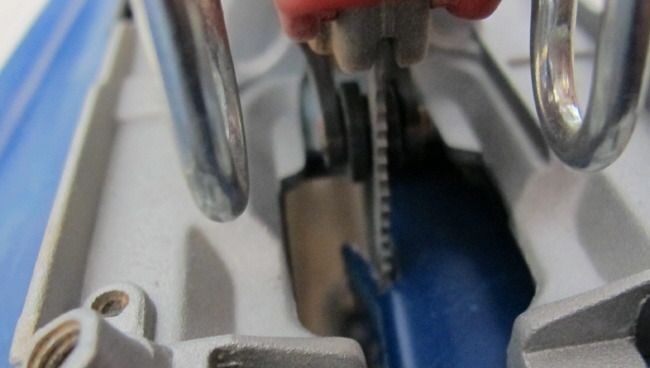
The rebuilt centerboard has more lift. Because the foil is thicker, the slot had to be widened with a jig saw.
 From each edge I removed about the width of two saw blades. After a little finish work with a sanding block the board dropped into place.
Re: Coronado 15 project.
Posted: Sat Apr 11, 2015 11:44 am
by TampaBay
After a few long projects the hardware is getting reinstalled.
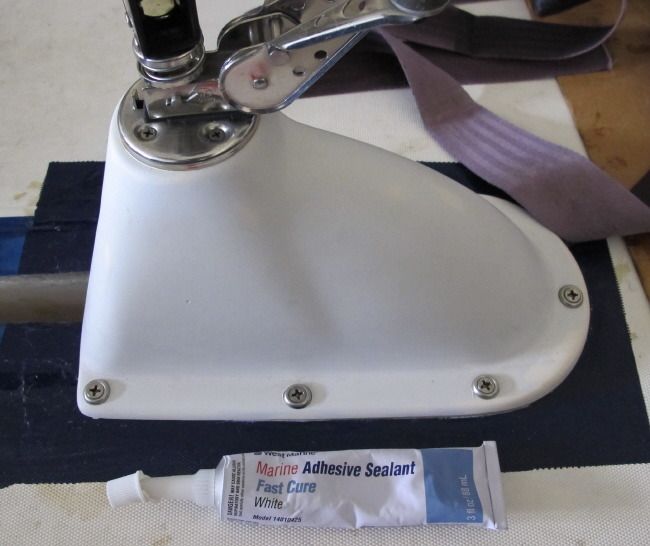 I'm fairly sure this is West Marine's version of 4200. I hope so :) I'll confirm that with a google search now.

Re: Coronado 15 project.
Posted: Sat Apr 11, 2015 3:31 pm
by earlylight
polyurathaneAccording to the manager of a local West Marine store, that sealant you used is basically the same as 3M5200
(a very tenacious Polyurethane Adhesive/Sealant)
Re: Coronado 15 project.
Posted: Sat Apr 11, 2015 3:34 pm
by earlylight
According to the manager of a local West Marine store, that sealant you used is
basically the same as 3M5200 (a very tenacious Polyurethane Adhesive/Sealant)
Re: Coronado 15 project.
Posted: Sun Apr 12, 2015 1:18 pm
by TampaBay
This is West Marine Model 14010425. Here is a description of the product copied from the West Marine web site.
"A good choice for bedding, bonding and sealing deck hardware and thru-hull fittings above and below the waterline where the need for future removal may arise."
Here is the link. A 5200 like adhesive would never be described "...where future removal may arise."
http://www.westmarine.com/buy/west-mari ... --14010425
Re: Coronado 15 project.
Posted: Mon Apr 13, 2015 7:24 am
by earlylight
I guess that is just one more reason I try not to shop at West.
1. limited stock (who in their right mind would stock ONE hinge of a certain type?)
2. High prices
3. Untrained personnel giving out false product information
Re: Coronado 15 project.
Posted: Wed Apr 15, 2015 9:47 am
by TampaBay
I threw a small carpet over two saw horses, uncoiled the garden hose and wet sanded the rudder and centerboard up to 1000 grit.
Re: Coronado 15 project.
Posted: Fri Apr 17, 2015 12:56 pm
by TampaBay
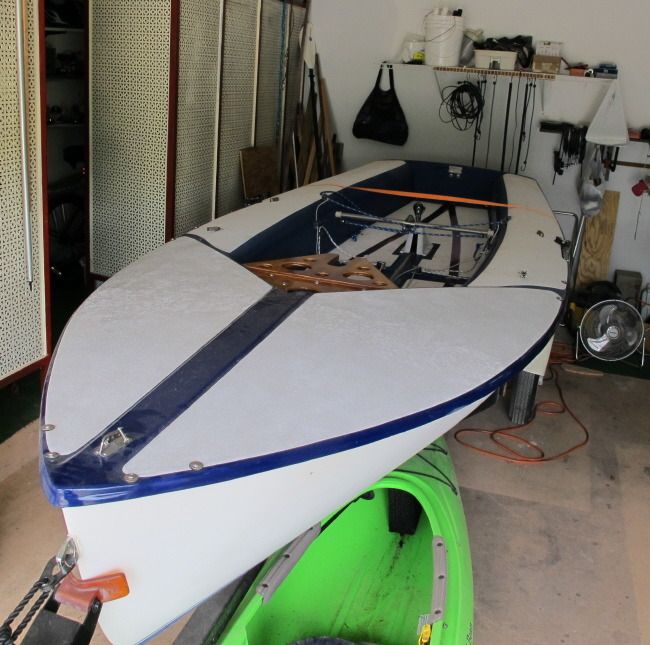
All the hardware is reinstalled. All the control lines are back in place. There have been some serious changes over the winter. Rebuilt foils, changes to the hull's super structure and a new bottom. I am very excited to get out for a test sail.
The weather in Sarasota right now is warm and overcast. The wind is light and there's a big boat show in town (the boat launch is packed.)
Re: Coronado 15 project.
Posted: Thu Apr 30, 2015 4:57 pm
by TampaBay
I took the boat out on Monday. It was very fast and it performs great. Now it 's time to sell,,,, looking for a bigger boat.
See the listing here. http://sarasota.craigslist.org/boa/5003789451.html
Re: Coronado 15 project.
Posted: Sun May 03, 2015 11:40 am
by TampaBay
Re: Coronado 15 project.
Posted: Wed Dec 16, 2015 10:49 am
by TampaBay
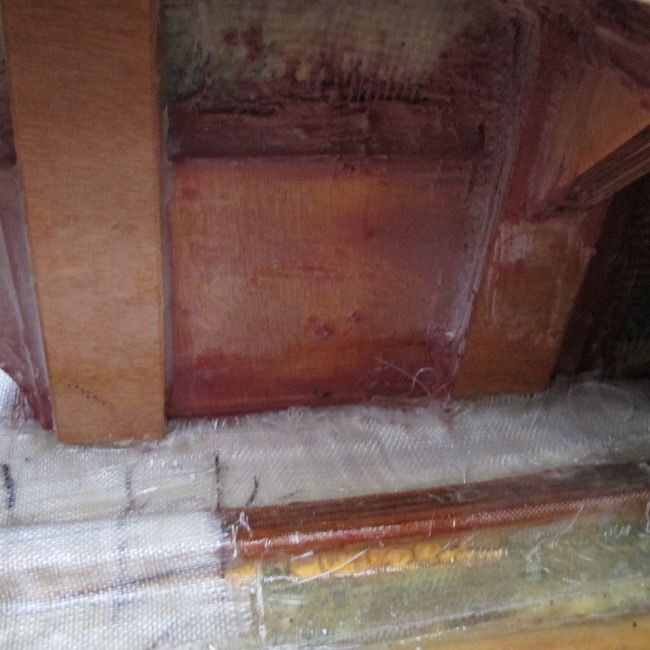
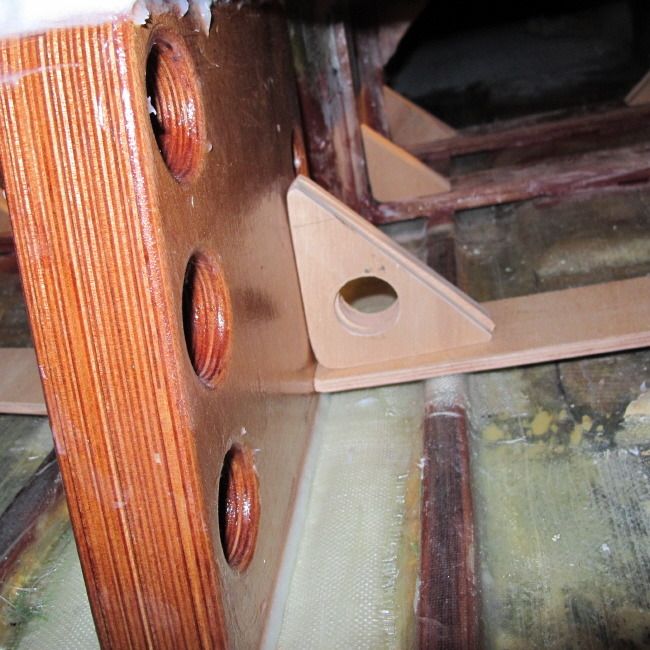
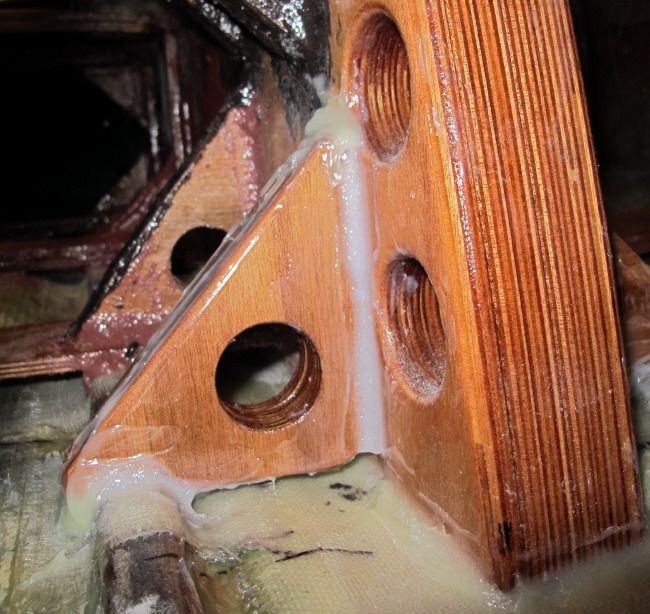
Here is that compression post from the front.The front triangles are notched into the stringers.The epoxy is Six10, it looks messy because it is. This is a very tight space and so perfect looking fillets are just not happening.
Re: Coronado 15 project.
Posted: Wed Feb 17, 2016 11:04 am
by TampaBay
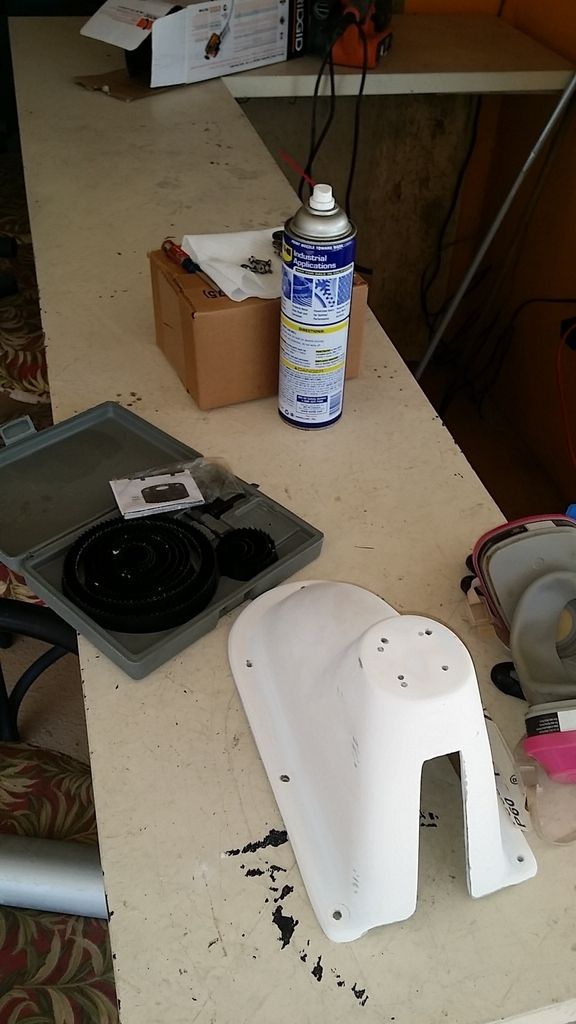
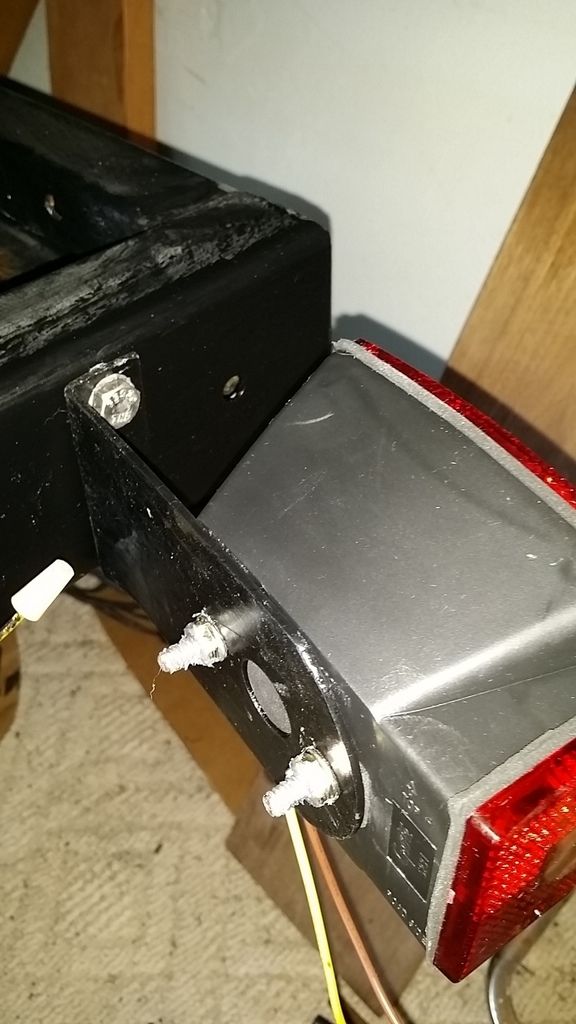
Replacing a signal lamp on the trailer (again.) This time I sanded and repainted the bracket and bought new stainless hardware. This stuff was a mess to disassemble so now, it's anti-seize everywhere.
 Installed.
 I disassembled the barney post and sanded off the old paint. It was painted a couple years ago but, it's time for an upgrade. The bolts were soaked in wd40 overnight.