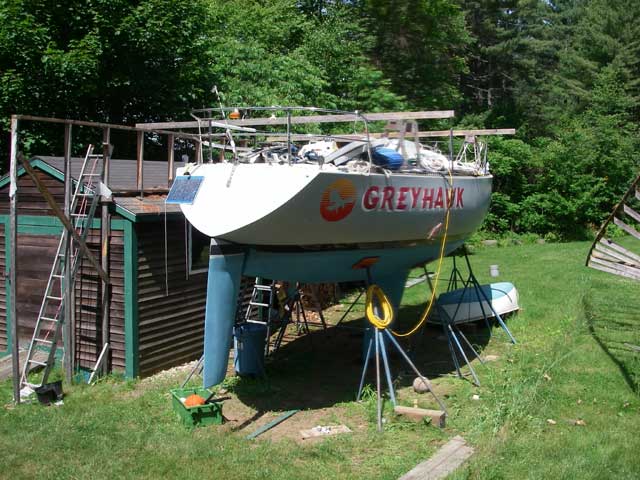
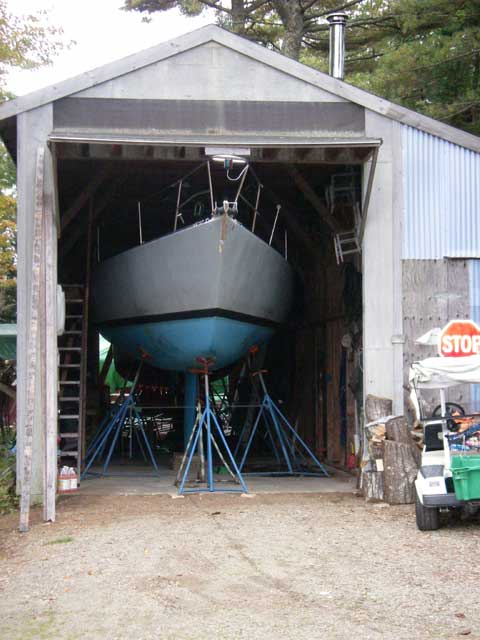
I considered a metal-framed fabric-covered RV garage such as from Cover-It, ShelterKing, or ClearSpan, etc... (see red line in drawing below). In the end, I decided to erect a 2x4 lumber framed structure similar to the sketch I posted above.
But I decided the posts on the left in my initial drawing would be in the way of our access to firewood stored in the sheds to the left of the boat in the picture above, so I decided to extend the rafters over to the sheds, while still keeping the roof peak over the centerline of the boat. I also decided that I don't need full headroom over the cabin top, which will allow longer collar ties:

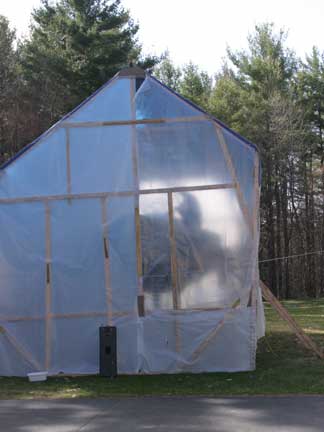
This design has a 14' high wall on the right, 12' high (on top of the sheds) to the left, 14' rafter to the left, 10' rafter to the right, and 10' collar tie. (The red line shows the approximate outline of a typical ShelterKing-type RV garage). The rafters are pitched at 9-in-12, or about 37 degrees. Hopefully snow will slip off pretty easily.
Note that I am calling this a tent rather than a shed. This is definitely intended to be just a temporary structure, to be taken down in about 9 months. I haven't told my city building inspector about it.... ;-)
Day 1
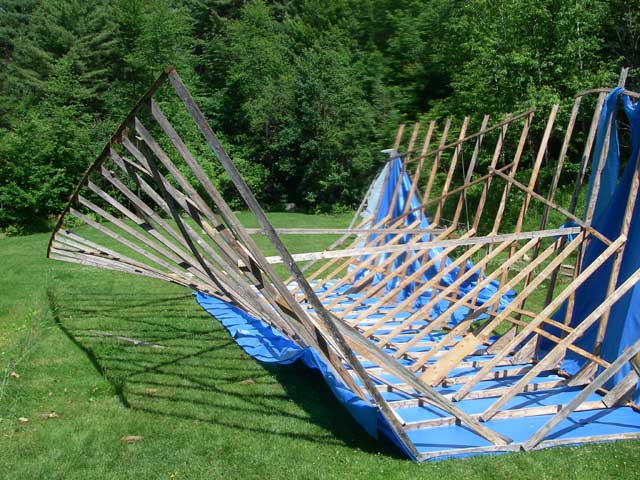
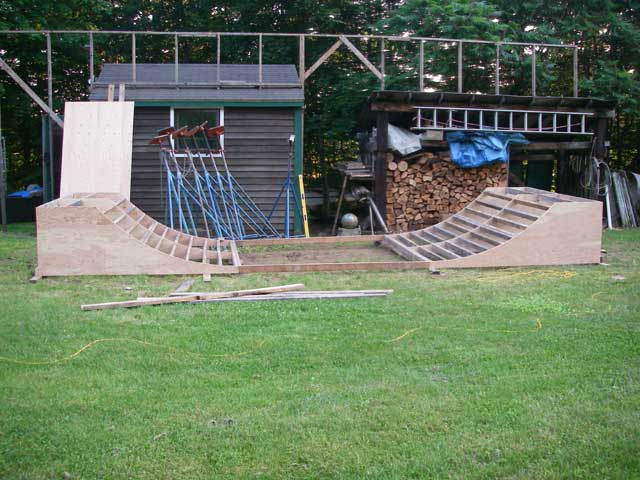
We began construction by lofting the structure at full scale (using actual pieces of lumber) on the driveway with sidewalk chalk:

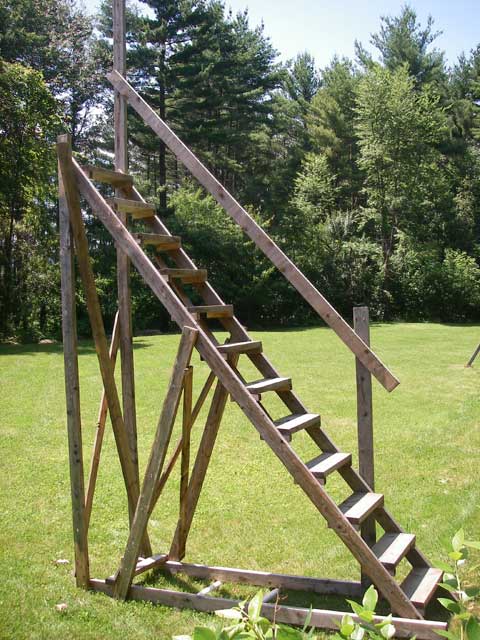
Then we assembled a full truss, including the legs, screwed it together, and attempted to hoist it upright with a rope from the bow of the boat. Unfortunatley, the connection between rafters and legs broke as we were tilting the truss up. So we needed a new plan. We decided to erect walls on the sides and then set the rafter trusses on top of them, as in more traditional stick framing.

You can see the proto-type roof truss on the pavement in the foreground.
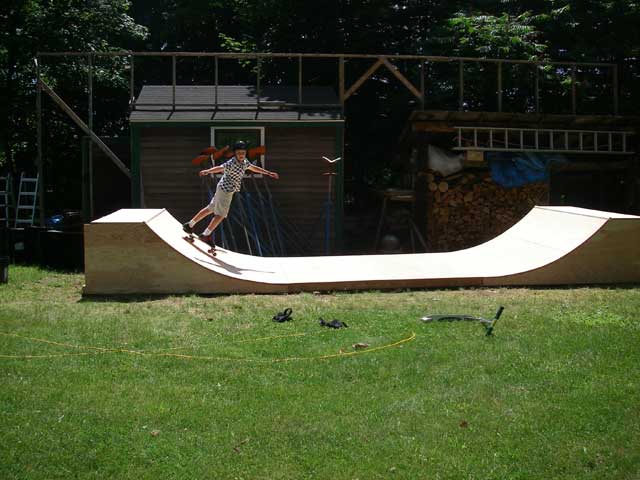
We raised the 14'-tall right wall in three sections, bracing each as we went, and then tied them together (at least at the bottoms). The studs (and the roof trusses) are spaced at 30 inches, except for the first and last which are at 36 inches.

With the right wall up, we began work on the left wall, which rests upon and skirts around the two sheds (an enclosed garden shed in front, and an open fire-wood storage shed in the back). Lots of careful measuring to get the wall in the right place and at the right height. By the end of the first day, we had a start on the left wall:

The proto-type roof truss is leaning up against the front of the two walls. Once the walls are done, we'll make up the remainder of these (15 in all) and then the plan is to lift them in place using gin poles from the deck of the boat. To finish the roof, we'll set up scaffolding brackets on the outside of the 14' tall right wall from which to work; we can work from the shed roofs on the left wall.
Day 2
We continued construction of the left wall, spanning the gap between the two sheds, again entailing much measurement and cogitation to get the wall in the right place and at the right height. By lunchtime, it had started to rain....


More to come, once it stops raining...
Regards,